
Multi-Step Renames and Presets
Working with Presets
Presets save your Better Rename actions for reuse: how to save, load, rename, delete, import and export presets, and apply them by drag and drop.
Once you start using Better Rename more frequently, you’ll soon find that you are often applying the same renaming actions over and over again. Presets are the most powerful way of automating such tasks, and the preferred one.
A preset is a snapshot of your current action settings, including all the actions of a multi-step rename. You can restore these settings with a single click at any time.
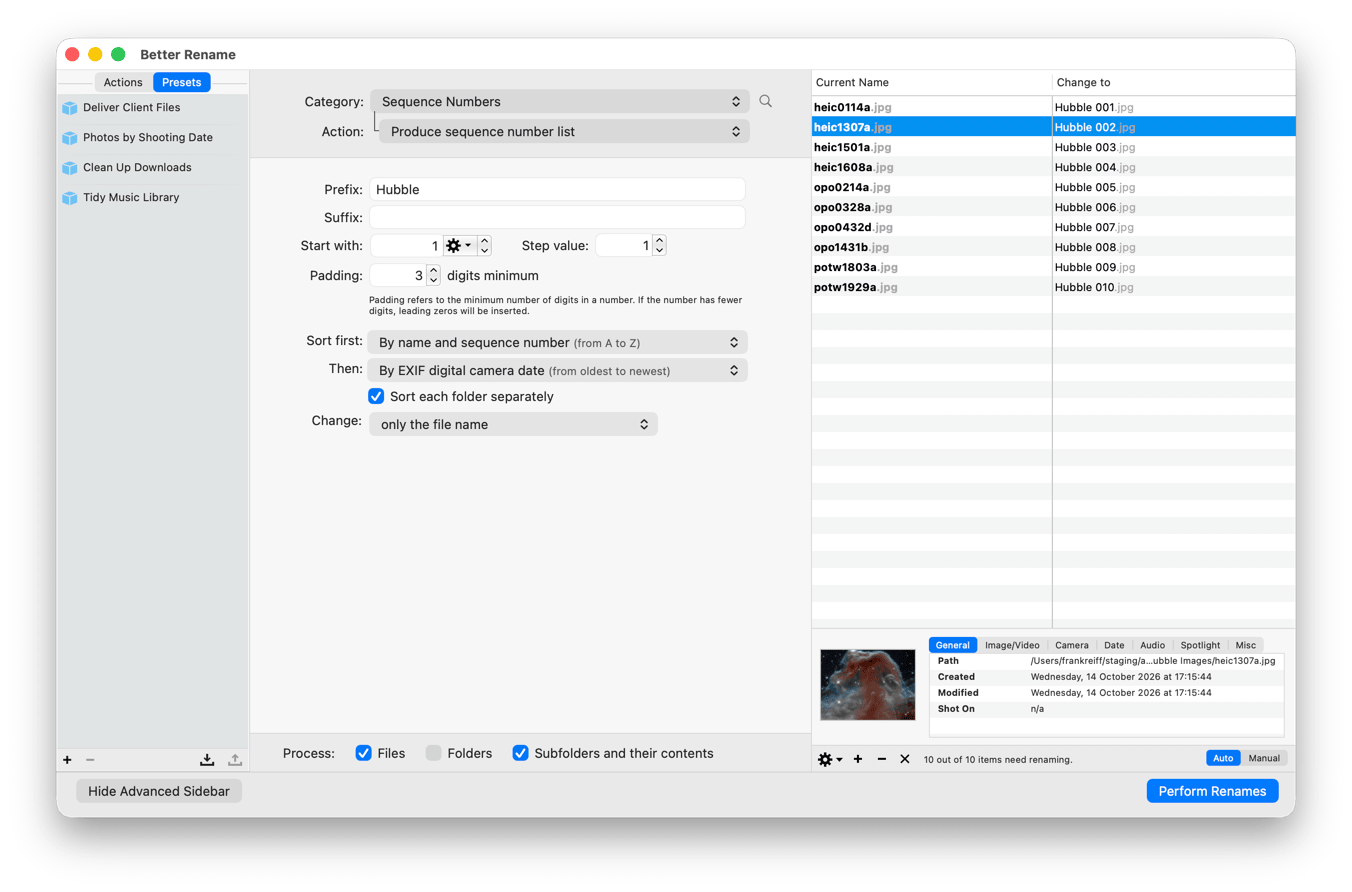
Presets only store action settings. They do not store application settings such as whether the confirmation dialog
is shown, nor the Process: checkboxes for files, folders and subfolders. Those live in the
Settings window and the main window respectively.
Presets appear in two places: at the bottom of the Presets menu and in the Presets tab of the
Advanced Sidebar (View › Show Presets Panel, Shift-Command-P).
Saving the current actions as a preset
- Set up the action, or the actions of a multi-step rename, as you want them
- Choose
Presets›New Preset With Current Action(s)…, or click the+button at the bottom of thePresetstab - Type a name for the new preset
Loading a preset
Choose the preset by name at the bottom of the Presets menu, or double-click it in the Presets tab of the
Advanced Sidebar. The current actions are replaced by the actions stored in the preset, and the preview updates at
once.
Renaming a preset
- In the
Presetstab of the Advanced Sidebar, move the mouse pointer over the preset; a…button appears on its row - Click the
…button and chooseEdit Namefrom the popup menu - Type the new name and press
Return
Deleting a preset
Select the preset in the Presets tab of the Advanced Sidebar and choose Presets › Delete Current Preset(s), or
click the - button at the bottom of the tab. Several presets can be selected and deleted at once.
Sharing, importing and exporting presets
Each preset is stored in its own file, so presets can be copied between Macs and shared with other users. Use the
import and export items in the Presets menu, or the import and export buttons at the bottom of the Presets tab;
the export applies to the selected presets.
Presets › Reveal Presets Folder in Finder… shows the folder on disk where your presets are kept, which is useful
for backups.
Applying presets without opening the main window
Once you have at least one preset, you can drop files and folders onto the icon of the closed application and pick a preset from the panel that appears. The files are renamed straight away, with or without the confirmation dialog. See Applying presets from the popup.